Not long ago, mastering in Dolby Atmos was a controversial idea. Some people said it wasn’t necessary; others said it wasn’t even possible. The field has moved quickly since then, and there are now several practical ways to master an Atmos release, and good reasons to do it.
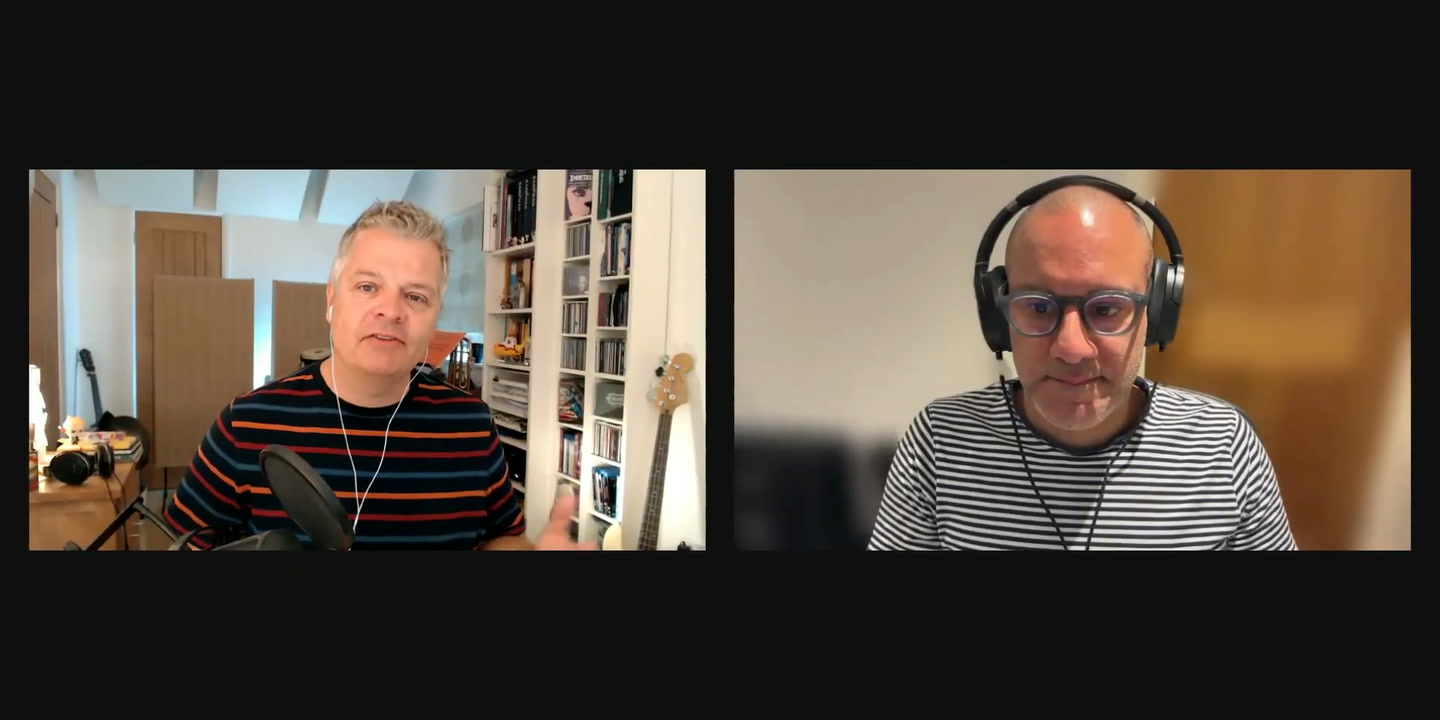
Mastering engineer Ian Shepherd recently sat down with Gavin McGrath of Zvuk Mastering, whose clients include Yungblud, Amy Winehouse, Pixie Lott, Jamie Cullum and Courtney Pine, to talk through how he approaches Atmos mastering, using two very different real-world projects as examples.
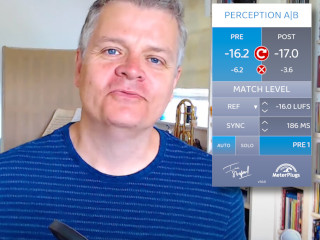
Gavin also worked with us on bringing immersive support to Perception AB, so partway through the video he shows how it fits into his Atmos workflow for level-matched comparisons.
You can watch the full conversation here:
Here are some of the key points from the conversation.
Why Atmos mastering is different: there’s no output bus
In stereo or 5.1, the mastering chain goes on the master bus. Every file is destined for a specific speaker (left, center, right, left surround and so on), so there’s a single place where all the audio comes together.
An Atmos master doesn’t work like that. An ADM file can contain up to 128 tracks of audio, split between beds (audio assigned to fixed speaker positions, like a traditional surround mix) and objects (audio with positional metadata that can move around the listener). Where each element ends up is decided at playback, by a renderer that knows whether you’re listening on a full 9.1.6 system, a 5.1 setup, stereo speakers or headphones.
Because the final mix is only created at the moment of playback, there’s no output bus to put a mastering chain on. To make a simple change, like reducing the bass across the whole track, you need the same processing, with identical settings, on every single channel.
Engineers have developed ways to do this in Pro Tools, Logic and other DAWs. WaveLab 13 takes a different approach: you drop a single plugin onto the output, and behind the scenes WaveLab creates as many instances as it needs to process every channel in the project. You adjust one plugin, and the change applies everywhere.
“Atmos is exactly the same as stereo”
What’s interesting about Gavin’s approach is how familiar it is. When Ian asks whether Atmos mastering is different from stereo, his answer is simple: you get good mixes and bad mixes, phase issues, peak overs and distortion. They’re the same problems, and he deals with them the same way.
That extends to how he thinks about the mix itself. Because an ADM file contains every bed and object, a mastering engineer can technically reach in and adjust individual elements. Gavin chooses not to. Mastering, as he sees it, is about the overall view of the music. He treats it as one holistic piece of audio, exactly as he would in stereo.
Limiting for compliance, not loudness
One place Atmos does differ is in how limiting is used. Atmos has plenty of headroom, so using a limiter or clipper at all might seem surprising. But Gavin isn’t using them to make anything louder.
As Gavin explains it, the spec he works to is a maximum of -18 LUFS and -1 dB true peak, and he needs it to hold up as the audio folds down from 7.1.4 or 9.1.6 to stereo and binaural. If a master goes over, it doesn’t meet the technical requirements, and major labels will simply reject it. So Gavin uses limiting to catch those overs, matching input and output levels rather than pushing for loudness.
A look inside the chain
Working on an orchestral project recorded at Synchron Stage in Vienna, Gavin walks through his processing chain. Here’s what he’s doing:
- He doesn’t use broadband compression. He wants the music to move and breathe, and to do as little to it as possible.
- Each processor makes a small, targeted move: a gentle shelving dynamic EQ, a subtle EQ clean-up of “honk” in the 500–700 Hz range (common with big rooms and lots of mics), and dynamic control in the low mids.
- Instead of de-essing, he uses HF limiting. Orchestral recordings can get spitty in the violins, but he finds de-essers unnatural, so he combines high-frequency limiting with a dynamic EQ in front of it. That gives him more control.
- The gain reduction is small. The HF limiter and the low-mid dynamic EQ shown in the video are each doing around a dB or two, and always relax back to zero rather than grabbing constantly.
- He uses linear-phase tools where possible, to avoid altering the phase of the music.
As Gavin puts it, the chain looks heavy-handed on paper, but it isn’t when you A/B it.
For Gavin, working in WaveLab has another advantage: he can open several Atmos sessions at once and balance them against each other, to make an album work as a cohesive whole. In many other workflows, that kind of adjustment has to happen after the ADM file has already been bounced.
Common questions
Should mastering change the binaural render settings?
Generally not. Binaural settings are part of the artistic intention of the mix, and if they’ve been set well, they should be left alone. The exception in the video is Apple’s own Spatial Audio demo track: Gavin found that settings in Apple’s renderer made it more reverberant and bigger-sounding than the stereo and 7.1.4 versions, so for this example he reduced them to bring the versions closer together. Ian’s view is that when renderers disagree like this, it’s a conversation to have with the client rather than a decision to make alone.
Which matters more, speakers or headphones?
Both, but the balance is heavily tilted. Gavin’s rough estimate is that around 95% of Atmos listening happens on headphones and earbuds, since very few people have a 7.1.4 system at home. Some artists favor a particular binaural render to the point where the speaker version suffers. Gavin says this has been common for a while, and he finds it frustrating, because it undersells what the format can do. As Ian points out, the job is the same as in stereo: making sure the music translates everywhere it will be heard. With Atmos, there are simply more places to check, including the Dolby and Apple renderers, which can sound quite different.
Beds or objects?
The two projects in the video are laid out very differently, which makes for a useful comparison:
- The Apple demo has a 7.1.2 bed carrying most of the music, with moving objects layered on top, like sounds thrown to the back of the room or rotating around the listener.
- The orchestral project uses the bed only for the LFE. Everything else, including the left, center, right, surround and height channels, is delivered as objects assigned to fixed speaker positions.
Why do it the second way? Partly because it makes 7.1.4 stem delivery straightforward, and partly for sound quality: Gavin says there can be a sonic disadvantage to putting height channels in the bed. Ian has heard other engineers explain why. Height channels in a bed can fold down oddly to binaural, while objects tend to translate to stereo and binaural more cleanly. Gavin agrees.
Part of the reason for workarounds like this is that Atmos was designed for film, with beds intended for dialogue, effects and music beds. As Gavin points out, music engineers have had to adapt it.
How much control should the mastering engineer have?
Some mix engineers are wary of Atmos mastering because the ADM file effectively contains the entire mix. Layouts like the orchestral project address this directly: once the music is bounced into objects at fixed positions, you can’t go in and turn down the timpani. That keeps the mix in the mix engineer’s hands, and steers mastering back toward a traditional, whole-picture approach. That’s how Gavin prefers to work anyway.
Judging your changes fairly
Early in the video, Gavin drops a single EQ onto the output of the Apple demo project, with a deliberately extreme bass cut, and WaveLab applies it across every channel. Listening back, Ian notices something besides the change in tone: the whole mix seems to get quieter.
This is one of the oldest traps in mastering. Louder tends to sound better, and quieter tends to sound worse, so any processing that changes the level makes a fair comparison almost impossible. You end up judging the volume change rather than the processing itself. We’ve written about this “loudness deception” before, and it’s something we care about a lot: a level difference of a dB or two is easy to mistake for an improvement, so the only way to judge a change fairly is to take the level difference out of the equation.
In Atmos the problem is multiplied. Instead of one stereo bus, the change is happening across dozens of channels, heard through several different renderers. The solution is the same as in stereo, though: compare before and after at matched loudness. That means measuring each channel at two points, before the mastering chain and after it, and compensating for the difference, so that switching between the two lets you hear only what the processing is doing.
In the video, this is done with Perception AB. Version 1.5, a free update for existing users, added support for channel layouts up to 7.1.4. The workflow in WaveLab looks like this:
- Insert a pre instance at the start of the chain on the output track, holding Shift while selecting Pre, so that every hidden instance WaveLab creates is set the same way.
- Insert a post instance at the end of the chain, again holding Shift while selecting Post. WaveLab pairs and syncs the pre and post instances automatically.
- Enable Link, so that switching between pre and post, or matching levels, applies to every instance in the session at once.
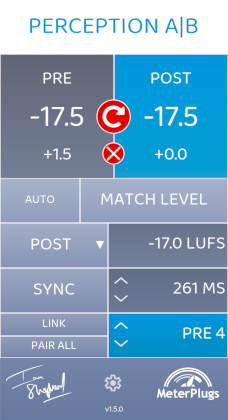
Perception AB 1.5: the Link toggle sits at the lower left, with the Auto toggle next to Match Level.
From there, a single click compares the entire mastering chain against the unprocessed audio, at matched loudness, across every bed and object.
That’s what makes it useful on a chain like Gavin’s orchestral one. That project can’t be played in the video for copyright reasons, but with a pre instance at the start of his chain and a post instance at the end, the whole thing can be bypassed at matched loudness. Ian heard the project while they were preparing the video, and says the changes are very subtle, but very worthwhile.
Auto Match Level came directly out of Gavin’s work. Every so often, people had asked for an automatic mode that keeps the pre and post loudness continuously matched, and Ian had always been resistant to it. Gavin argued that he was re-matching so often on Atmos projects that it was essential, so we added it. Having used it, Ian admits he quite likes it.
The same approach works in Pro Tools, Logic and most other DAWs that let you add a plugin to every channel at once.
Thanks to Gavin for sharing his time, his projects and his approach. You can find out more about his work at zvukmastering.com.
And if you’d like to learn more about Perception AB, you can find full details on the Perception AB page.